
Note: Images should be jpg, gif, or png files. While you may use them at their original size, they are best saved at the final size that you would like them to display on the Web site. In general, jpg files are best for photographic images, while the gif and png format is best for flat color images like logos.
To add a new image to a page on the Web site, make sure you have saved it at the proper size and in the correct file format before you proceed through the steps below. There is often a recommended width for an image in the main content area of the site. It is usually best not to upload images wider than the content area of your site's pages. We recommend the image size 675 x 325 pixels when using images at the top of the body field.
Within the content editing screen, click the Image icon.
Note: On older websites an “Image Properties” window will appear at this step. Click on the Browse Server button to upload the image.
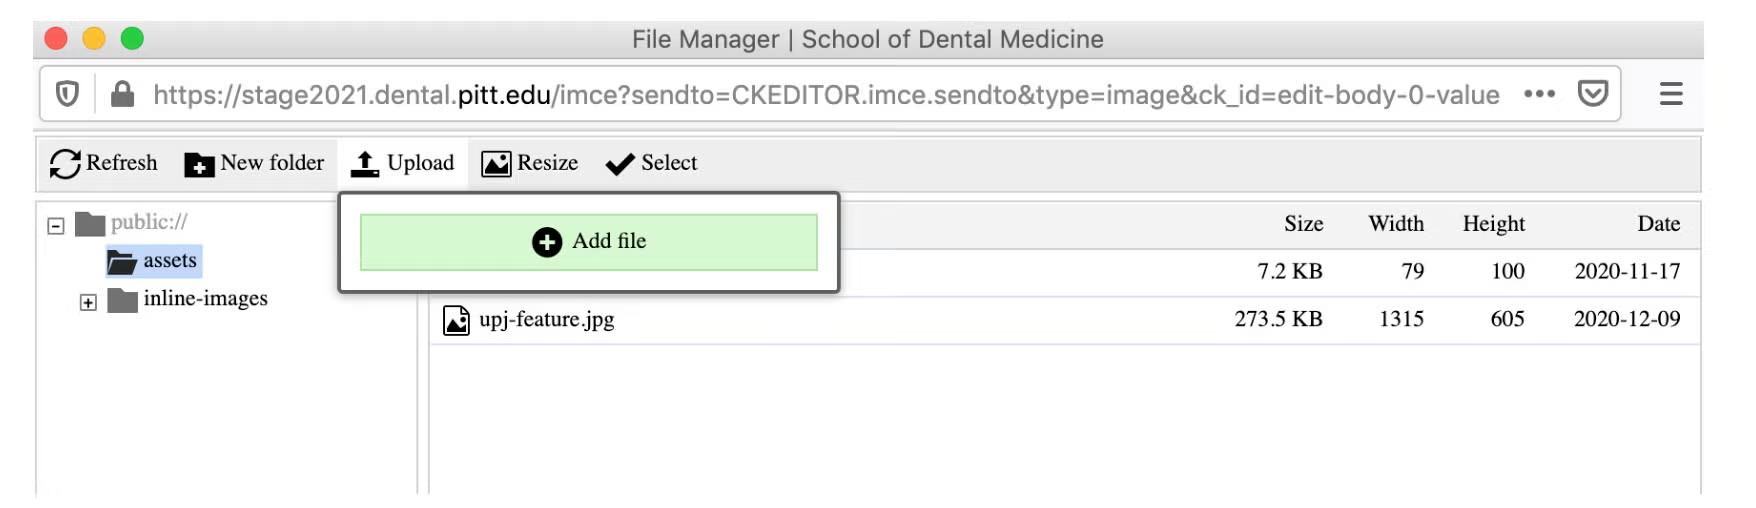
A “File Manager” window will appear. Click the Upload button at the top to add the image. The new file will be added to the list of files in the ‘Name’ column of the table. It will be highlighted by default. Click the Select button at the top of the table to add it to your site or double-click the file. If the image is already on the site, choose the file from the column that says “Name” and click Select.
Once the image is added to the body, right click on the image and select Image Properties.
Alternative Text field: filling out this field ensures that users who browse the Web with alternative technologies like screen readers will have the image verbally described to them.
University of Pittsburgh images can be found in Photos to Downloads.